We all know that tile is a very important part of QGIS. For many purposes, we need various types of maps in our work. Tile plus plugin is one of the best plugin for adding tiles in QGIS.
Many of us already know about the uses of the OpenLayers plugin. OpenLayers plugin is very useful for georeferencing and making vector files and many more. But in OpenLayers plugin fewer tiles are available. Sometimes we need more tiles for our work.
To solve these problems we found the best alternatives to the OpenLayers plugin. This plugin is named Tile Plus (Tile+).
Visit our Product Page:

But when you search for Tile Plus plugin in the QGIS plugin menu. You don’t find it there.

So, You need to install it using a zip file. The zip file is attached to this article. From there you can easily download the Tile Plus plugin zip file.
Download Tile Plus Plugin Zip file:
Visit our Product Page:
After downloading, it follows the below step to install it.
Step 1

Open the Qgis Desktop application and click on the Plugins menu and then click on Manage and Install Plugins.
Step 2

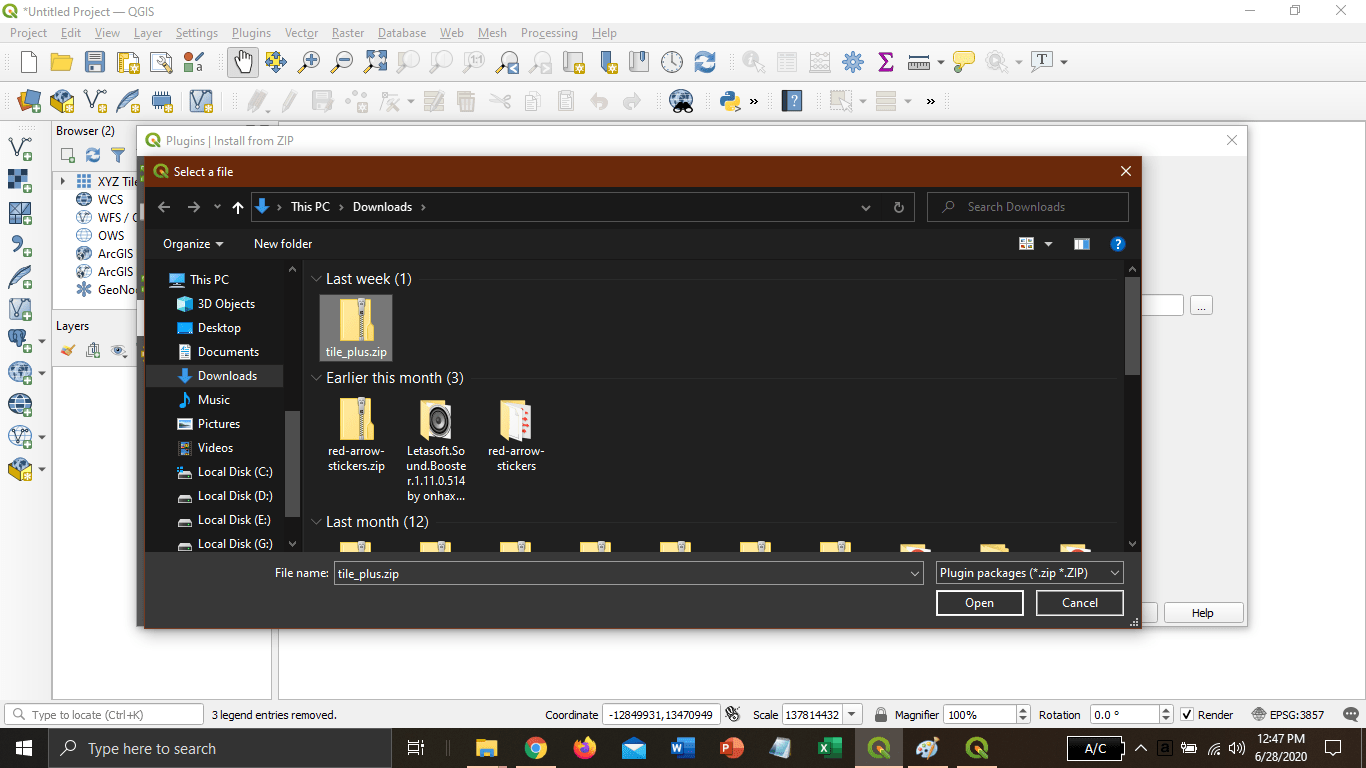
This interface will open. Click on Install from ZIP. Select the zip file from your directory which you have downloaded from this page.
Step 3
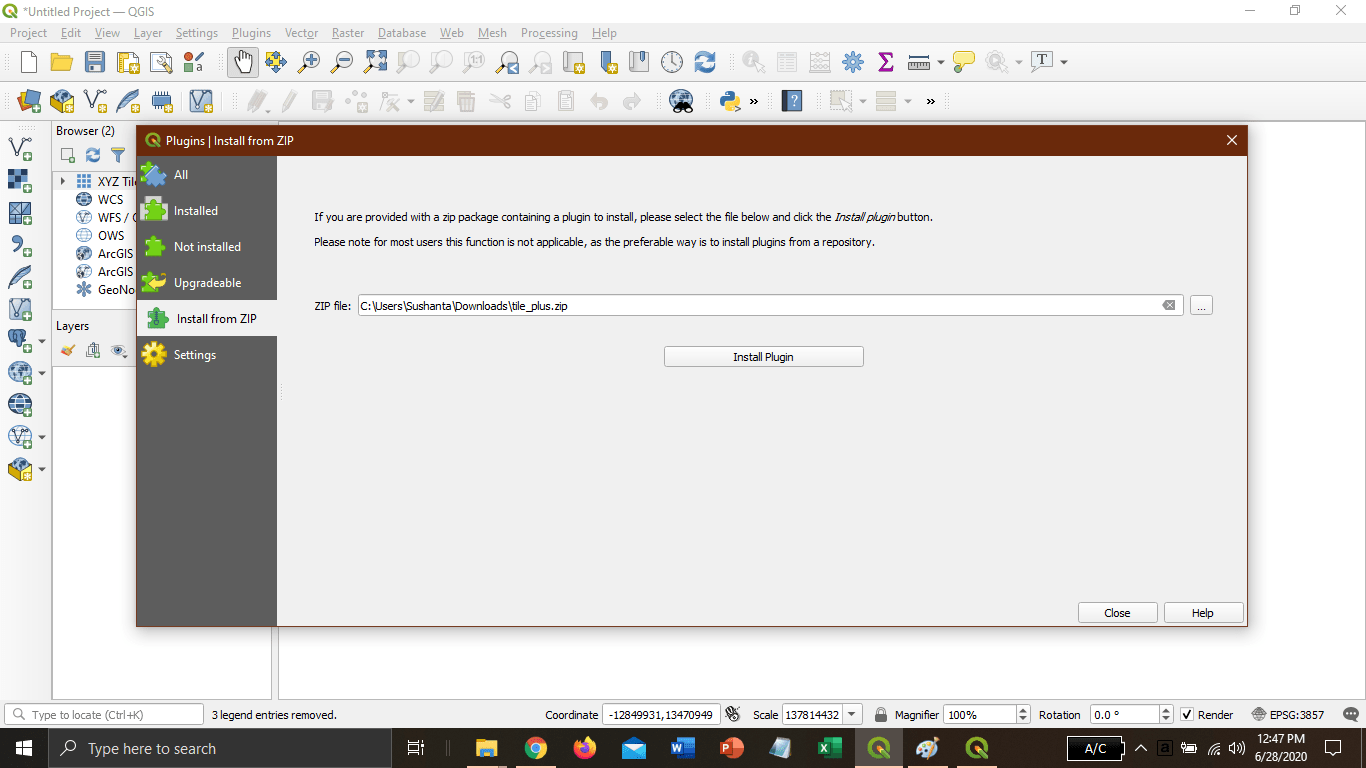
Now, click on the install plugin.
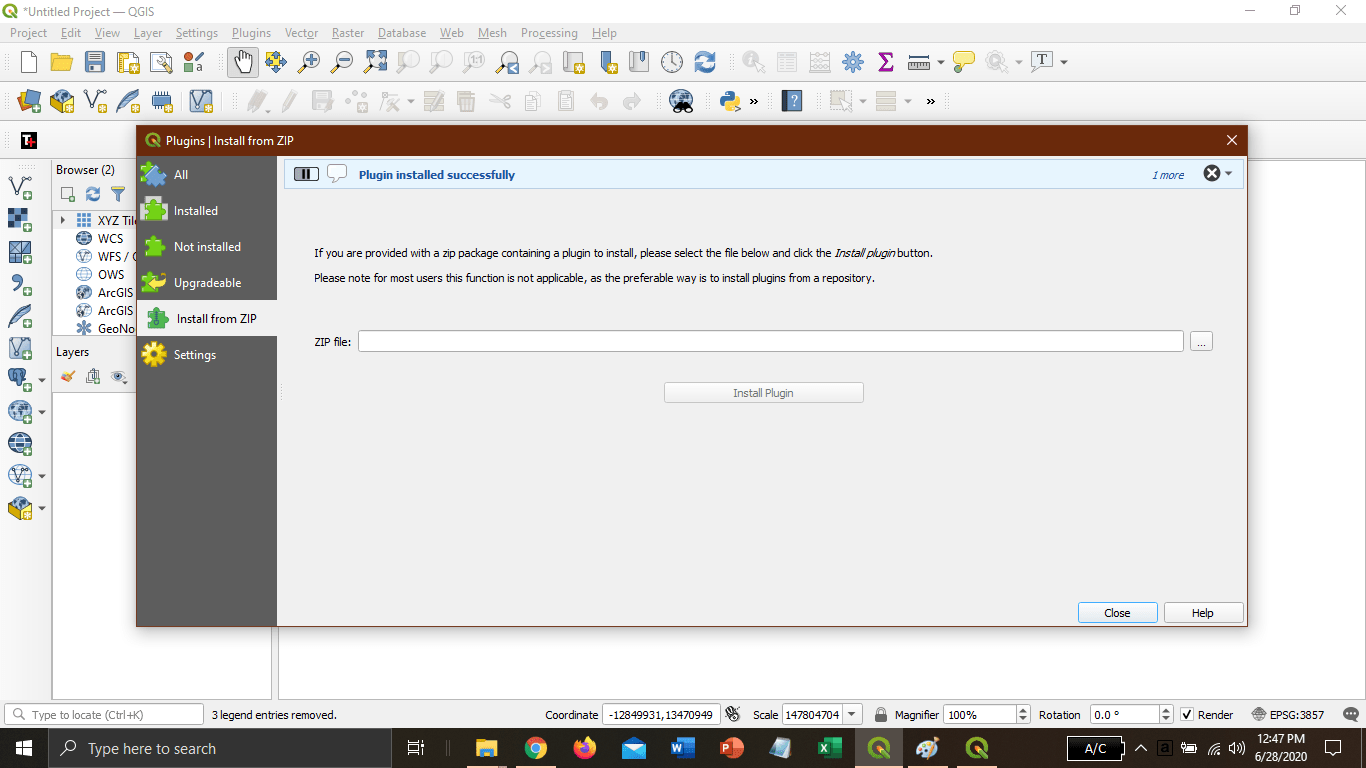
See your plugin successfully installed.
Step 4
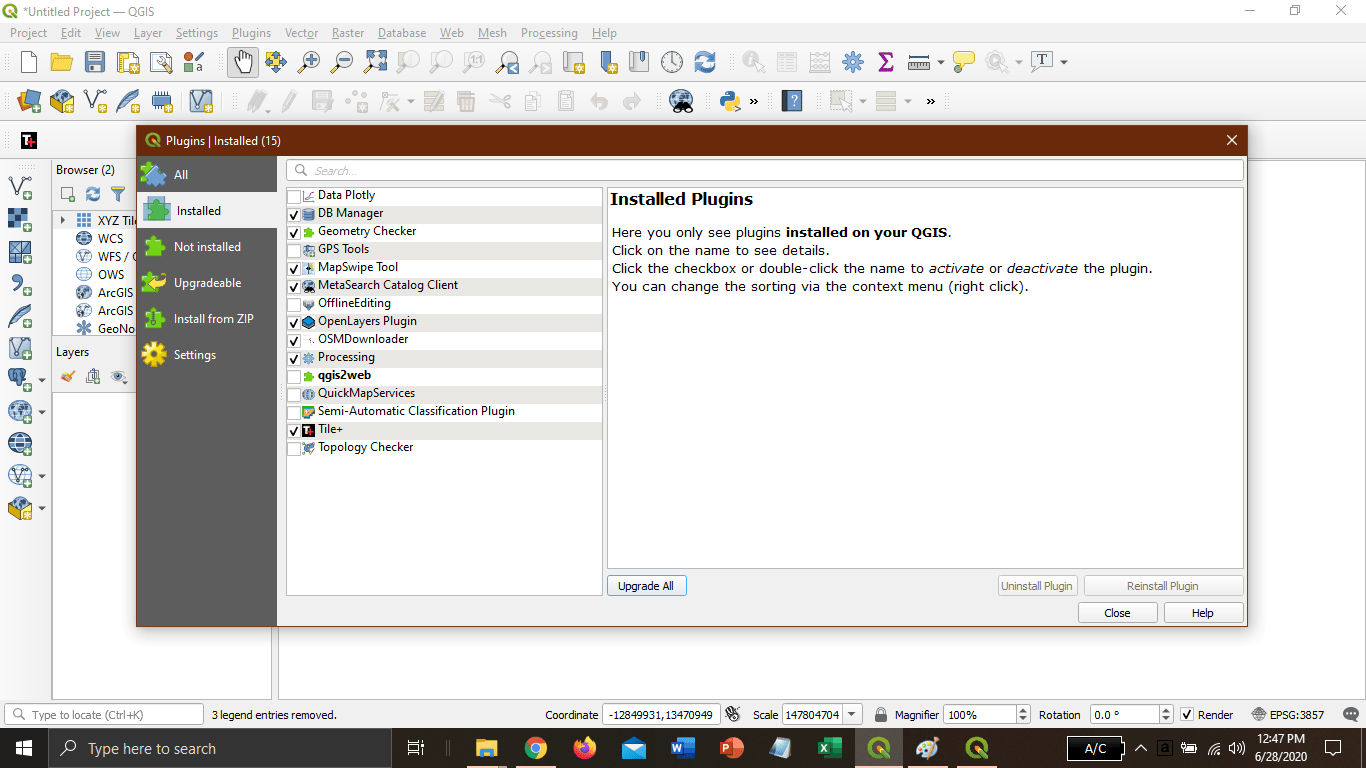
Check your Plugin in the Installed option.
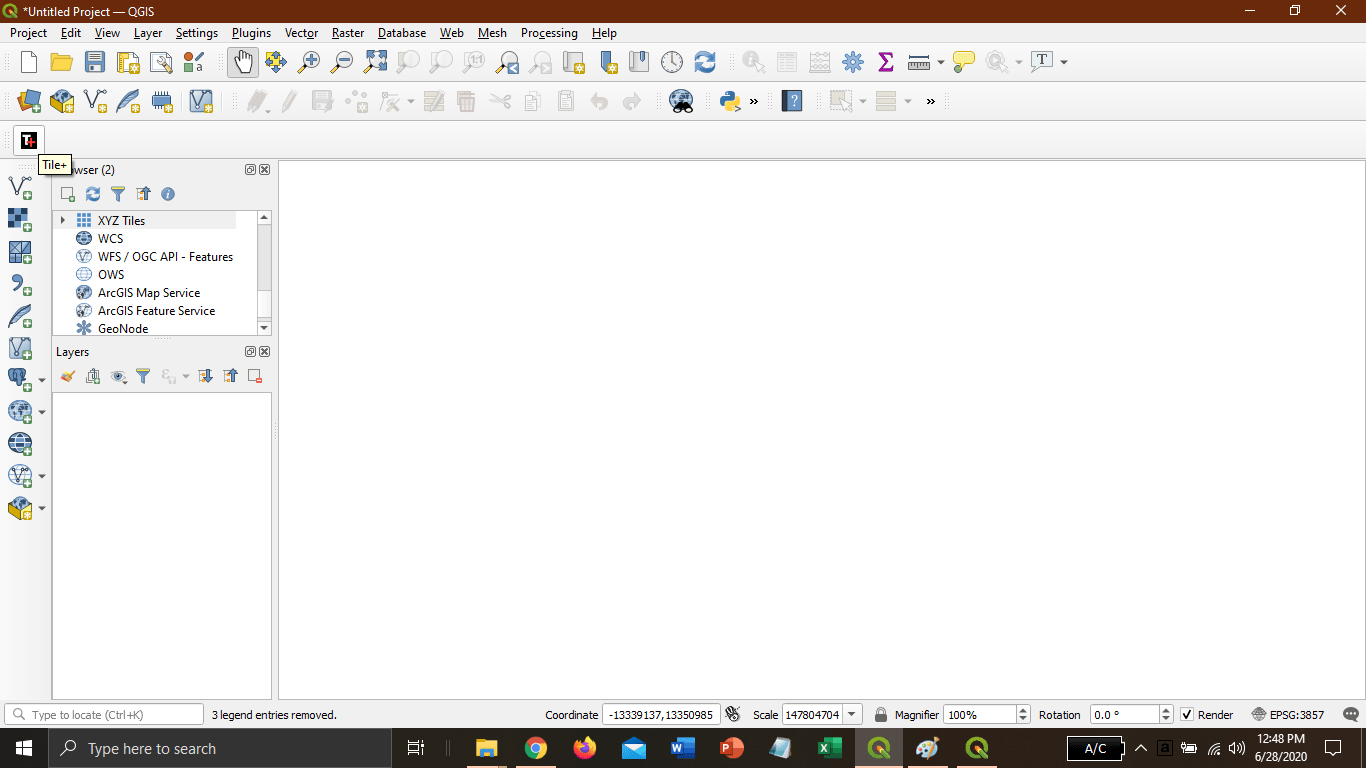
See a Tile+ icon added to your QGIS interface.
Step 5
Click on the Tile plus icon and select map, and select then click on the plus (+) icon. The map will be added successfully. See on your Layer Panel.

List of all Maps that is available in Tile +. See on below image.

I hope you understand the full process of downloading and installing the Tile+ plugin. Enjoy it.
Visit our Product Page:
Trop compréhensible cette processuce de téléchargement et d’installation du plugin de tile plus.